Inside: Your guide to how to pierce your nose at home and how to make sure it’s done safely.
Okay, we’ve all been there and had this thought: “I kind of want this piercing, but I wonder if I can do it myself.” And for a lot of us, the thought stops there. We find a piercer, get it done professionally, and move on. Not all of us have braved DIY piercing.
But I’m going to give you the complete step by step guide so if you’re out here playing with the idea and want to see what the process looks like, or maybe you’ve already committed to it and are ready to rock, then you know exactly what to do.
You’re brave, so let’s get into it!
Please note that I am not a professional piercer, but these are all tips that work for at home piercing processes, and that I always recommend seeing a professional for the safest piercing experience!

Alright so you’ve thought about it, made your decision, and you’re going all in on the DIY piercing moment. Let’s talk this through: here are some answers to some of your biggest questions you might have.
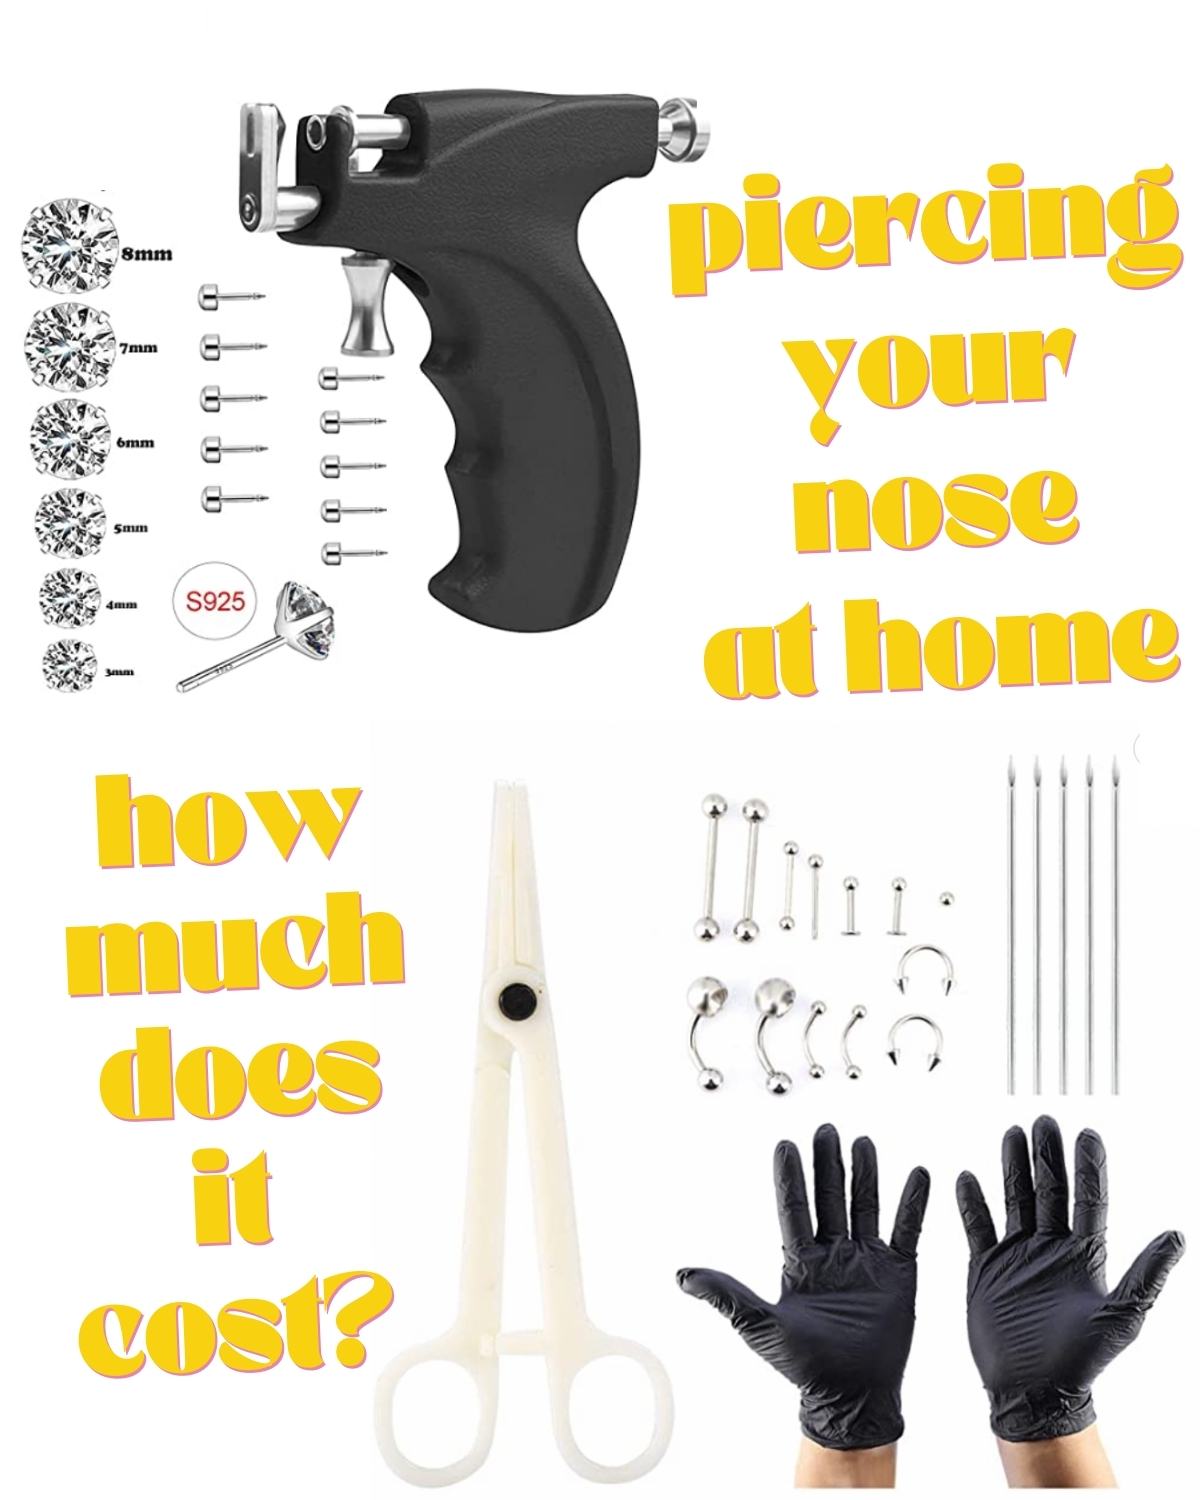
Amazon Piercing Gun | Amazon Needle Piercing Kit
How Much Does It Cost
In the age of Amazon and online stores, you can acquire all of the tools needed when learning how to pierce your nose at home for a fairly low cost! I would not recommend going for the cheapest options though, as you want to make sure your tools are going to work smoothly all the way through the process. Make sure to read reviews and check the ratings before purchasing.
If you’re planning on using a piercing gun, (not recommended for your nose!) you can find some with pretty good reviews and ratings on Amazon for anywhere from $8 to $30! I recommend staying within the $15 to $30 range to aim for the best quality that you can.
If you’re going the needle route, (recommended for more control) there are incredible kits with everything you need (including the piercing clamp!) from both Amazon and body jewelry stores for around the same price point. Again, read reviews and ratings, and make sure it has worked smoothly for others before attempting it on your own.
You’ll also need to add in the cost of peroxide, saline, and the jewelry. For all of this you’ll want to budget another $30 to $40. Sterilizing solutions aren’t too pricey, but you want to invest in some high quality jewelry to go in your new piercing!
How Much Does It Hurt
Overall, learning how to pierce your nose at home is not as painful as you may think or expect! It is totally different for everyone based on different pain tolerance levels and how many piercings you’ve had to compare it to, but in general, it doesn’t hurt too terribly.
Now, piercing your own nose may be a bit of a different experience! It’s pretty normal to be more aware of the pain when you’re the one inflicting it on yourself, but the best way to feel the least amount of pain is to commit to it once you’ve started and don’t hesitate once you’ve begun.
Piercing your own nose will hurt more than having a professional do it, but if you’re bold enough to want to do it yourself to begin with, you’ve got this!
How To Heal a DIY Nose Piercing So It Won’t Get Infected
The answer is always clean, clean, clean!!! When you get your piercing kit, make sure that everything you receive is sterilized (and in an individual package), and maybe even sterilize it at home as well just to make sure that it’s as clean as possible. You’ll want to go above and beyond, I’d rather be safe than sorry!
To sterilize at home, submerge the needle you’re going to be using to pierce in hydrogen peroxide, then place in boiling water. Use gloves when handling the needles after they have been cleaned and when cleaning your nose. Make sure to use saline to clean the area of your nose you’re going to be piercing. Clean, clean, clean, everything!
What Does The Scar Look Like
Nose piercing scars aren’t too intense, unless there’s a bit of pulling, yanking, and stretching while wearing the piercing. Face piercings have the highest chance of showing some kind of scar, but it can be avoided if you’re careful with it! If you keep it clean and avoid the dreaded “bump”, and if you don’t pull and tear during the healing process, you should have minimal scarring, if any!
How To Pierce Your Nose At Home?
Okay, we’ve already discussed some of the preparations for how to pierce your nose at home. Here is what you will need:
- Purchase a quality piercing kit.
- Purchase quality jewelry.
- Purchase cleaning solutions.
- Clean the needles and jewelry.
- Wear gloves.
- Clean the area to be pierced.
A few extra notes on these steps and you’re good to go!
When buying your needle, make sure it’s the best size piercing needle for piercing a nose. This is going to be either 20G or 18G (which is .81mm or 1.0mm respectively) and make sure that the jewelry you purchase is the same size.
Mark your nose to make sure you know where you’re going to be piercing, and if you’re using the clamp and needle technique, make sure the clamp is placed where you can see the mark through the center.
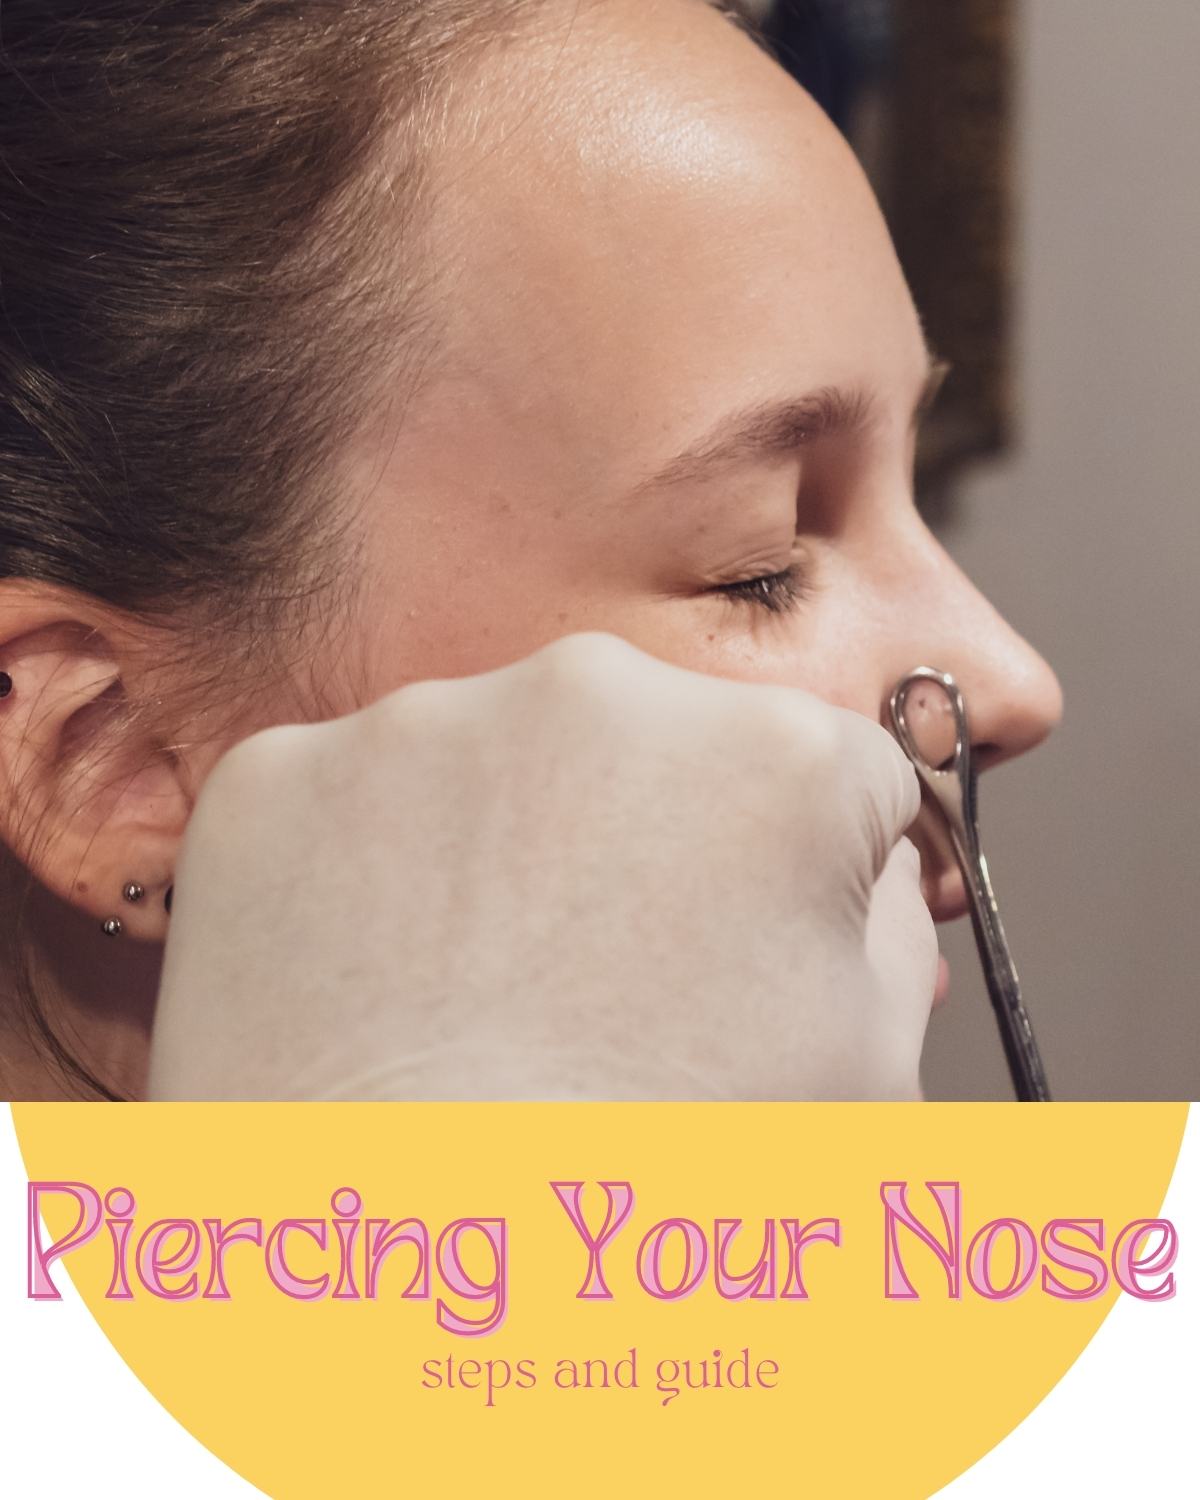
Piercing Your Nose
You’ve got this. The best thing you can do for yourself at this point in the process is to relax. Stressing about it won’t help the process, so do what you can to calm down if you’re nervous.
Do what you have to to relax and slow your breathing, if you’re starting to panic. Something that might help is putting ice on your nose to numb it a little bit– it won’t feel as intense sticking a needle through your skin. Get it together, calm down, you’ve got it!
Once you begin with the needle through your nose, commit and go for it until you pull it out the other end through your nostril. Be careful not to jab the center cartilage, but definitely go for it.
Immediately follow it up with your sterilized jewelry, and you’re done!
Once you’ve relaxed this is a pretty quick and easy process.
Aftercare
You’re all done… And you have your new nose piercing. How exciting!
Learning how to pierce your nose at home is exciting, but you need to be more careful with cleaning afterwards, as you’re more prone to infections doing it at home.
Use your saline soak and Q-Tip or cotton pad, and douse it on the area at night and in the morning. For the first few days, it may not hurt to give it a third cleaning in the middle of the day too.
A tip given to me when I got my nose pierced but I don’t hear too often is to sleep with a bandaid across your nose. Be careful not to place the adhesive part of the bandaid on the piercing site, simply protect it from snagging during the night.
I put it on every night after cleaning, and only did it for about the first week, but it helped and the healing process was pretty smooth. This is definitely not a requirement, but it worked well for me.
Professionally getting your nose pierced will always be the best experience, but you can totally make it happen in your own home! Just remember to clean, clean, clean, and to commit to it once you’ve started. If you’ve had other piercings before or if you’ve had someone pierce your ears at home, you know what this process will be like and you can handle it like a champ.
If you’re following all the steps and appropriate preparation procedures, you’ve got this down, no problem! Be sure to pay extra attention to cleaning it even during the healing process to make sure it doesn’t go awry. Maybe even cleaning it three times a day instead of two for the first few days, just to be safe.
Be safe and have fun being your own piercer.